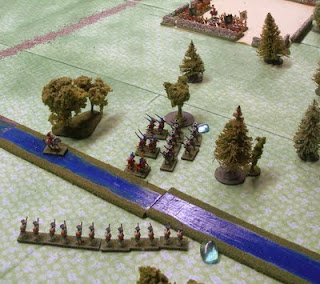
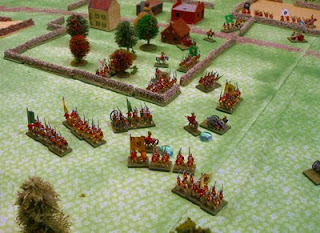
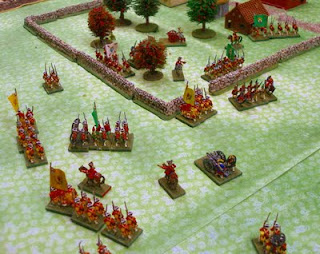
On Saturday, July 2, the Jackson Gamers met at the abode of Lord Sterling (Jay's) for a Seven Years War battle using his 15mm British and French armies. We used the
Quick Tricorne rules that Jay had modified (
link). Some pictures have already been posted on John Murdaugh's Nomadic Old School Gamer blog (see link to right). Here we have the report from the British commander, Lord Orlando (Col Campbell himself).
Evening of 2nd July, 1761 (2011)
Village of Huntley in the Cronkite Gap, Germania
To: General Lord Sterling, Horse Guards, Londinium, Britannia
My dear General,
Today the forces that you have entrusted to our command, representing His Britannian Majesty’s Army in Germania, successfully repelled a Gallian incursion through the Cronkite Gap into the heart of His Majesty’s realm of Hannüber. Although the Gallians severely pressed our forces, we were triumphant as evening fell, successfully defending the villages of Huntley and Brinkley and the farmstead of Chancellor. The Gallians did seize the village of Brinkley for a short time, our gallant Britannian infantry quickly retook the village and successfully held it at day’s end.
Our cavalry did take severely losses, especially the brigades commanded by Generalleutnant von Schneider of the Hannuber army. The infantry of Major General Reding-Nekkid’s and Major General Bully-Beef's brigades were severely handled as well as they defended Brinkley and the center of the line with great ferocity. The rest of the army handled itself in the fine tradition of His Majesty’s forces, defeating the best the Gallians could through at them.
The army remains garrisoned in the Cronkite Gap awaiting reinforcements and supplies before venturing south against the main Gallian base at Franfurter.
I have commissioned a talented young artist to render some quick watercolors of the high points of the battle and I enclose them for your enjoyment.
I remain, your most obedient servant,
Lieutenant General Lord Orlando
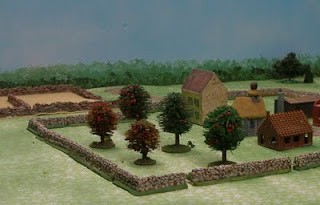
The village of Brinkley before its occupation by a battalion of Britannian infantry. Lord Sterling had obtained a bag of small wooden buildings some time ago and built the two towns and the farmstead from them. The towns were sized to hold a battalion of infantry and a gun stand while the farmstead could hold just a battalion of infantry.
Generalleutnant (GL) von Schneider of the Hannüber Army and his three cavalry brigades (32 squadrons) on the right flank of the Britannian Army.
Major General (MG) Young of the Britannian Army with his left flank wing of three brigades of cavalry (36 squadrons), two battalions of Highlanders, two battalions of Hannüber light infantry, and a brigade of four Hannüber guns. The villages of Huntley (foreground) and Brinkley (middleground) and the farmstead of Chancellor (background) were occupied by battalions of the Britannian Army to serve as anchors against the Gallian storm. General Lord Sterling of the Horse Guards was the host of the engagement.
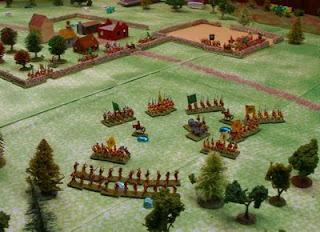
The Gallian commanders, Marechal de Camp (MdC) Pitts (right wing commander), Lieutenant General (LG) le Comte de Florida (Gallian army commander), and Feldmarshalleutnant (FML) von Sansing (left wing commander), with the Gallian Army in its battle array.
The village of Huntley, ably defended by a brigade of four guns and a battalion of Britannian infantry. It was under little pressure during the entire battle. Lieutenant General Lord Orlando (Col Campbell himself) commanded the Britannian center with four Britannian brigades, each with a four gun artillery brigade, and a Hanüber infantry brigade with its artillery, plus a heavy reserve artillery brigade.
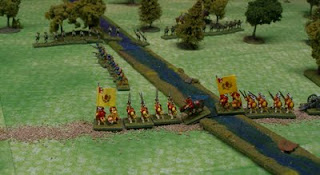
GL von Schneider’s right wing cavalry is decisively engaged with FML von Sansing’s Gallian cavalry. FML von Sansing had three cavalry brigades (36 squadrons), but only two infantry brigades, one line and one light. The right flank of the first Britannian line (Major General Barleycorn’s 1st Britannian Brigade) is already deployed while the second line (Generalmajor Stahl’s Hannüber Brigade) is still in march column to allow it easy maneuver should it be needed by GL von Schneider.
The center of the battlefield with the Britannian first line infantry (Major Generals Redding-Nekkid in center and Bully-Beef on left) deployed against the main Gallian attack. The village of Brinkley is to the left facing a massive Gallian attack force that included the Gallian Guards. Major General Nonesuch’s Britannian Brigade is still deployed in march column on the left half of the second line. In the left background, MdC Pitts’ Gallian right wing is advancing upon the farmstead of Chancellor.
The Gallian Guards attack the Britannian garrison of Brinkley (a Britannian battalion and a brigade of 4 guns). The first Gallian attacks were repelled after some fierce fighting that saw a Gallian Guards battalion withdraw due to severe losses. MG Bully-Beef’s brigade stood strong against the main Gallian attack.
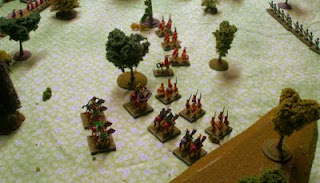
Later in the battle on the Britannian right flank with FL von Schneider’s cavalry having taken severe losses. The right flank second line brigade, Hannübers under Generalmajor Stahl, are deploying to reinforce what is left of the Britannian and Hannüber cavalry.
A final picture of the battlefield showing the village of Huntley (right) not threatened, the severe depletion of the center of the Britannian first line with battalions of the second line deploying forward, and the severe fighting around the village of Brinkley (left). In the background, the Britanno-Hannüber cavalry of MG Young is successfully opposing the Gallian cavalry of MdC Pitts.
Although still being pressured by the Gallians, the Britannian garrison of Brinkley is still holding. This was the second Britannian battalion to man the defenses of Brinkley, the first having been thrown out in earlier fighting.
After a Highland battalion was severely pummeled by Gallian artillery while successfully defending the farmstead of Chancellor against attacks by Grenadiers de Gallia, they were withdrawn and a battalion of Hannüber jagers then manned the walls. The Britanno-Hannüber cavalry and the Gallian cavalry continue their fight as darkness starts to fall.
Major General Barleycorn’s 1st Britannian Brigade was under very little pressure from the Gallian left wing infantry as it successfully defending the village of Huntley all day.
Additional pictures were taken by Lord Sterling and FML von Sansing and will hopefully be posted soon.
EDIT: And now a report is available on the Jackson Gamers web site.
